Gain Staging: The Foundation of a Clean, Professional Mix
There is a common mistake that almost every beginner producer makes: mixing too loud. You load up a track, the kick drum sounds weak, so you push the fader up. Then the bass needs to be louder, so you push that up. Before you know it, your master bus is hitting the red, your mix sounds harsh, and your plugins are distorting.
The solution to this chaos is the most unglamorous, yet most crucial concept in audio engineering: Gain Staging.

What Exactly is Gain Staging?
In the analog days, engineers had to carefully manage the volume level at every single piece of hardware. If the signal was too quiet, they would get "tape hiss" (noise floor). If it was too loud, the electrical components would distort (clipping). The process of finding that perfect middle ground at every stage of the signal path is called Gain Staging.
Today, inside a Digital Audio Workstation (DAW), we don't have tape hiss, and digital clipping is much harder to reach thanks to 32-bit floating-point processing. However, Gain Staging is still mandatory. Why? Because of your plugins.
The Magic Number: -18 dBFS
Most of the premium plugins we use today (compressors, EQs, saturators) are analog-modeled. This means the software is coded to behave exactly like the vintage hardware.
In the analog world, the hardware was calibrated to sound best at 0 VU. In our digital DAWs, 0 VU translates to roughly -18 dBFS (Decibels Full Scale).
- The Mistake: Feeding a signal peaking at -1 dB into an analog-modeled SSL Compressor plugin. The plugin will react as if it's being heavily overdriven, resulting in a squashed, harsh sound.
- The Solution: Adjust your clip gain (the actual audio file volume) so that the average level dances around -18 dBFS, with peaks no higher than -10 dBFS or -6 dBFS. Now your plugins have the "headroom" to breathe and do their job cleanly.
The Real-World Problem: Gain vs. Room Noise
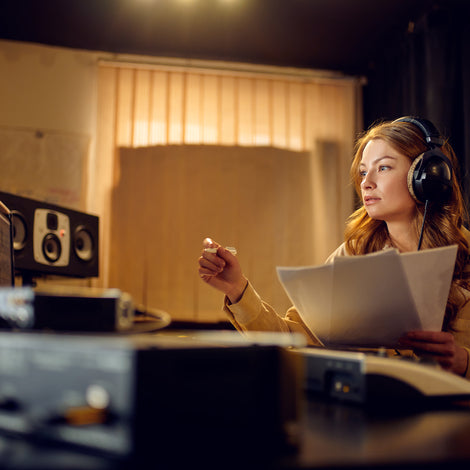
There is one crucial stage of Gain Staging that happens before the sound ever hits your computer: The Microphone Preamp.
When you set the input gain on your audio interface, you are telling the microphone how sensitive it needs to be. Here lies the biggest trap for home studio producers: If you turn up the preamp gain to capture a quiet vocal, you are also turning up the "Room Noise."
Every reflection from your bare walls, every flutter echo, and the hum of your computer fan gets amplified. You might achieve a healthy -18 dBFS signal, but it will be a "dirty" signal filled with room ambiance. No amount of EQ can fix a vocal recorded in a bad-sounding room.
Clean Signal Starts with a Clean Room
You cannot achieve perfect gain staging if you are fighting the acoustics of your room. To record a loud, clean vocal without capturing the nasty room reverb, you must treat your recording space.
- Acoustic Panels: Place these behind and around the vocalist to absorb early reflections before they enter the microphone.
- Bass Traps: Keep the low-end mud out of your acoustic guitar recordings.
Rule of Thumb: Unity Gain
As you add plugins, keep an eye on the output level of each plugin. If an EQ makes the track 3 dB louder because you boosted the highs, you must turn the Output Gain of that EQ plugin down by 3 dB.
This is called Unity Gain. The volume should be exactly the same whether the plugin is bypassed (turned off) or active. This prevents you from being tricked by the "Louder = Better" psychoacoustic illusion, and it ensures your master fader won't clip by the end of the mix.
Conclusion
Gain staging is about discipline. By keeping your levels conservative (-18 dBFS), maintaining unity gain across your plugins, and ensuring your physical room is treated with acoustic panels to allow for clean preamp settings, your mixes will immediately sound wider, punchier, and more professional.

Make your Dream Studio
ABOUT AUTHOR
House Live Engineer of Free Bird, a live house with the history of South Korea's indie music scene.
Single album/Regular album/Live recording, Mixing and Mastering experience of various rock and jazz musicians