Automating Your Mix: Bringing Your Tracks to Life
Automating Your Mix: Bringing Your Tracks to Life
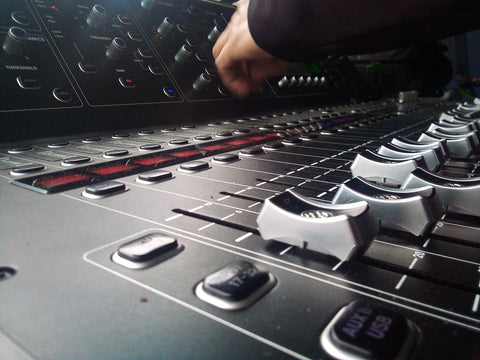
In the world of sound engineering, automation is one of the most powerful tools at your disposal. It can transform a static mix into a dynamic and lively track that breathes and evolves. Whether you're working in a home studio or a professional setting, understanding how to use automation effectively is key to crafting professional-sounding mixes. In this blog post, we'll cover the basics of mix automation, explain its benefits, and provide tips on how to automate like a pro.
What is Automation in Mixing?
Mix automation allows you to control various parameters in your DAW (Digital Audio Workstation) over time. This means you can adjust the volume, panning, EQ, reverb, delay, and other effects dynamically throughout the track. Instead of manually tweaking settings while the song plays, automation lets you program these changes so that they happen exactly when and where you want them.
Why is Automation Important?
Automation helps make your tracks feel more alive. A mix without automation can feel flat and uninspiring, especially as songs grow in complexity. By automating elements like volume swells, reverb adjustments, and panning shifts, you can create a sense of movement, space, and emotion within the song. Here are some reasons why automation is essential:
- Dynamic Control: Automation allows you to control the dynamics of each element in the mix, helping certain parts stand out or recede as needed.
- Precision: Manually adjusting faders during playback can be inconsistent. Automation provides the precision necessary for fine-tuning your mix.
- Consistency: Once automation is programmed, it ensures that the changes occur exactly the same way every time the track is played.
Types of Automation
There are several types of automation you can use in your mixes:
- Volume Automation: One of the most common forms of automation, used to control the loudness of individual tracks or sections. For instance, you can automate a vocal track to become more prominent during a chorus and softer during verses.
- Panning Automation: Panning automation adds width and movement to your mix by adjusting the stereo position of different elements. This can create a more immersive experience for the listener.
- Effect Automation: This includes automating parameters such as reverb, delay, and EQ settings. For example, you might increase the reverb during a breakdown to create a sense of space, then dial it back for a more intimate sound during the verses.

How to Start Automating Your Mix
Ready to dive into automation? Here's a step-by-step guide to get you started:
- Select a Track: In your DAW, choose the track you want to automate. This could be a vocal, guitar, drum, or any other element in your mix.
- Choose the Parameter: Decide what parameter you want to automate. Most DAWs allow you to automate volume, panning, and effect parameters.
- Create Automation Points: Click to create automation points on your track’s timeline. These points define where changes will occur.
- Draw Automation Curves: Connect the points to create curves that adjust the parameter over time. Experiment with different shapes to create gradual or sharp transitions.
- Refine the Automation: Play back your mix and fine-tune the automation points as needed. Adjust the curve shapes for a smooth and natural-sounding result.
Final Thoughts
Automation is an essential tool for any sound engineer looking to breathe life into their mixes. By taking the time to automate key elements of your track, you can add depth, emotion, and professionalism to your sound. Start experimenting with volume, panning, and effect automation today, and watch your mixes come to life.
ABOUT AUTHOR
House Live Engineer of Free Bird, a live house with the history of South Korea's indie music scene.
Single album/Regular album/Live recording, Mixing and Mastering experience of various rock and jazz musicians

